Showing posts with label sewing. Show all posts

October 18, 2016

The Blog Revival - Zipper Bags without a Zipper Foot


HELLO? Is anyone still there?  I abandoned this blog back in January with a 2015 wrap-up and then was not inspired to carry on. BUT, today I decided the give it another chance as I was stitching up some samples for my Etsy shop.  After making several hundred of these bags, I have developed a few tricks. Maybe I'm not the first to do these but I didn't see them anywhere else.

#1. No Zipper Foot Required


In this photo you can see that I am attaching the nylon coil zipper with the regular foot that came attached to the machine (Janome Memory Craft 9900). The foot is about 3/4 inch wide and clear plastic. Yours may be different but should still work. I lay the zipper down and simply stitch on that slightly raised line that appears on most zippers. I only use YKK.


Here I am attaching the other side of the zipper to the other side of the zipper bag.

Helpful Hint: Always start with the zipper halfway open and when you get to the zipper pull STOP, raise the presser foot and move the pull to the back and away from your stitching line.

This is the outside of the bag. Now attach the lining pieces on the other side of the zipper.


 My exterior pieces have been lined with a fusible batting and pre-quilted.  The lining piece is underneath and I stitch over the line I created when I sewed on the exterior fabric. I find this much easier than trying to align the two fabrics and the zipper all together.

AGAIN: Always start with the zipper halfway open.

 Here is the lining AFTER I had opened it out and stitched lining the  edge of presser foot up with the nylon coil.  I only stitch through the lining fabric and the edge of the zipper. I do not stitch through the exterior fabric. This helps hold the lining fabric out of the way of the zipper.

#2. Use Grosgrain Ribbon for the Zipper Tabs

I really like the method of creating tabs on the ends of the zippers, but find it fidgety to cut little pieces of fabric and fold them to create a tab. I use 7/8 inch wide grosgrain ribbon which I have lots of since I use it on my jewelry rolls.  

Stitch a two inch piece of ribbon at each end of the zipper lining up with the exact length you want. I make my zippers 1 inch shorter than the top edge of the fabric I am using.

I know these photos are bad but didn't see that until it was too late. The zippers shown are the peach color used in the bag. I have no idea why they show up as PINK!!


Unfortunately, this photo is blurry but should still show how I fold and press each end to create the tab. I DO NOT stitch over this as the ribbon will be held in place when it is sewn into the bag.

Open that zipper halfway !!!
before this step.  With the right sides to right sides sew all around the perimeter of the exterior and interior fabrics leaving an opening in the bottom of the lining fabric.

Another Hint:
I sew a slightly larger seam allowance on the lining fabric than the exterior fabric because when it is turned and put inside the lining has a tendency to feel too big.
 When sewing over the transition from the exterior to the interior try to go just up to the edge, but not over that ribbon tab that you made.

 A boxed bottom is created with those corner cuts I use.  Simply open them out and match the seams up and stitch across. Again, I make the interior seams a bit wider than the exterior ones. And here is how they look from the top. A bit of ribbon through the zipper tab makes them look less naked.
So, let me know if this helps you in any way. If you don't care because you don't sew you can visit these bags and more at CherylThimbleFingers on Etsy.


June 28, 2015

Sewing in My Sleep

My little shop on Etsy is keeping me pretty busy since I jumped on the jewelry roll train. I have sold near 150 of them since mid-January and though things have slowed a bit they are still steady sellers.

A friend commented that I "can probably make them in my sleep now" and if it wasn't for the sharp objects required, that might be possible. I stab myself daily when awake so sleep-sewing could prove deadly. I am expert at removing dabs of blood from fabric.

However, even though I make the same thing over and over, I still find it thoroughly satisfying.


This ugly wrinkled bit of brown Kraft paper is my trusty pattern. It is the second one I have made.
I know that I could just measure rectangles and cut them, however since I am not ALWAYS alert, there is too much chance of mis-measuring and this works better for a semi-sleep state.


           I think these run the gamut from gaudy to gorgeous without being too much or too little.  

If you sew, do you always want the challenge of working on something new and challenging? Or do you  find just the process of sewing satisfying in itself?  I admit to being the second type.  That is probably why making these and selling them is something I love doing. As a retired person, I want to support my sewing habit without the concerns of screwing up!  

Now, if I could just think of as many blog topics as jewelry roll designs!

May 5, 2015

Another Tilton Comes to Life - Marcie This Time

FINALLY, I am going to cut into the beautiful wool knit that I bought in Italy last fall.  For the first time I made a muslin (see previous post). So perhaps I was over confident in cutting and not concentrating and did a really stupid thing. 

 First, I completely forgot to cut out the facing pieces since they were not needed in my muslin that was strictly for fitting my shoulders. Then when I cut them I really CUT one in half. AM I BLIND? Place on the fold seems pretty clearly marked.
 There is not enough fabric to recut so it is new machine to the rescue.  Here is the touchscreen showing my stitch choice. I butted the pics together with a bit of added interfacing (a black tricot)

It came out really strong and looks remarkably good especially since it will be on the inside of the jacket.
For the first time I used the buttonholer for this machine. The pattern calls for a 1and 1/8 inch button and the attachment only accommodates a one inch button but I just opened the thing to its fullest and made lots of practice buttonholes. Due to the stretch of the fabric, the button goes through perfectly.

 With it buttoned it looks pretty good BUT....
                               Unbuttoned, not so much. Very wavy. More interfacing?
                 And, the black interfacing shows on the edges even though I did stitch it twice around.

           My reason for choosing this pattern is the interesting seaming on the back and sides.


And I think I did a pretty nice job of topstitching using topstitching thread. Why is red  so hard for me to photograph?????

So where is the jacket in its entirety? You'll have to wait until I am able to photograph it in a perfect setting. Stop by in about a week from now for the unveiling.

Here is a hint.

March 29, 2015

Sewing for Me with Katherine Tilton and Vogue

 I have a number of fabric purchases that have been awaiting their turn to be transformed into SOMETHING but this project took precedence and got done. I attended the Cleveland Quilting and Sewing EXPO this week and for such occasions you MUST wear something hand made. I did so for one of the two days I spent there and here it is.
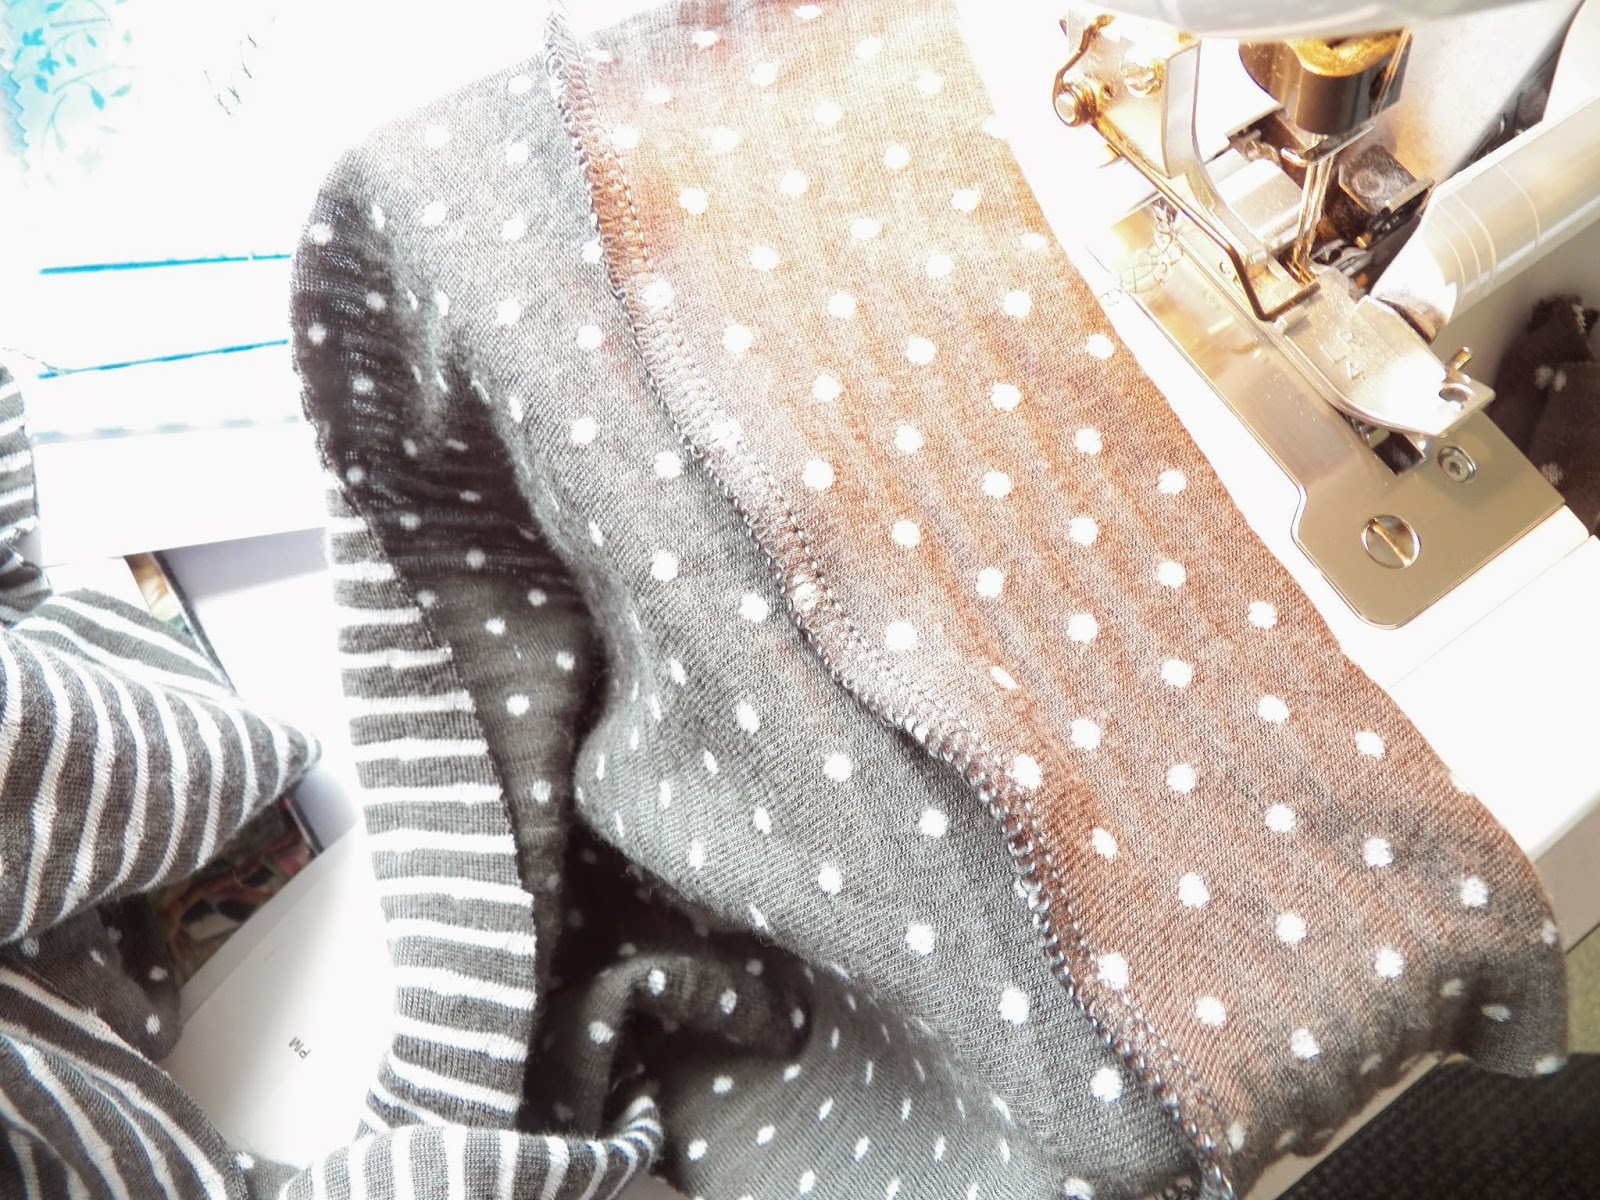
The fabric is a reversible knit in dots and stripes AGAIN. I made something with reversible knit previously (see here). 
The pattern is Vogue 8793 by Katherine Tilton and I chose it for the bit of quirkiness and the zipper detail on the double collar. The knit I chose is probably a bit stretchier than the Moderate Stretch Knit Only which is suggested. The stretchiness might be why the sleeve on the right in this photo is so much longer than the left. A tug would have evened them up but didn't see it until I put it up here.

An advantage of the extra stretch is that the sleeves are a bit tighter than I would like,  but the give makes it tolerable.

Here it is on me. Ooooh, I wish I matched this mannequin. She is a display piece NOT my dress form. 
This collar was the main reason to purchase this pattern (ON SALE) because all Vogue patterns are ridiculously priced (SEE HERE) The printed price on this one is $30. I got it online somewhere for $6, I think.
Again, I ignored instructions and bought a metal zipper, which is definitely what is shown on the pattern picture. 

Adding that double collar was the trickiest because the collar had a wad of layers and they are being sewn onto one rather thin and stretchy shirt layer. I did it on the regular machine with a stretch stitch and then trimmed it up on the serger. A row of top-stitching along that collar seam would have been nice, but I know I would have messed it up. It would have needed an interfacing to handle it and one more layer in that collar seam would have been asking for disaster.

It called for a Lightweight Molded Separating Zipper.  That would be plastic. I wanted this to have the effect of funky jewelry and plastic would just look stupid.  Granted, it would probably work out better in the laundry. This will be hand-washed, dried flat as I can imagine those little metal teeth biting into the soft knit.

Most of the shirt was assembled on the serger. Here I, once more, defy instructions and add the cuff BEFORE sewing up the sleeve seams. The pattern did show sewing the sleeve and side seams after the shoulder seam as in most knits.                                                                                
Again, I wish I was built like this mannequin. But even with Francine's nice straight shoulders you can see a glitch and a bit of stripe misalignment. My remedy for this is to just keep moving and no one will notice. 
Even after adjusting the shoulder width and using tape on the seam, I still get a droop. This pose is also not helping. Hubby was drafted into taking these and he worries way more about the edges of the picture and ignores how to make me look my best.

For your viewing pleasure, here is the left and right sides on Francine. I wish I had mixed it up a bit more on the inner and outer sides of the collars. This pattern would give you a way to mix and match a bunch of leftover knits. I would just make sure to pre-wash and make sure they are equally stretchy.                                                                                                     
Watch for the next installment of ThimbleFingers where I will show you what I acquired at the sewing expo that may change my life!


January 13, 2015

Frozen Fashion for Favorite

 This was perfect winter sewing except if you actually want to wear it.  I had the pattern and some of the fabric to give my favorite granddaughter* at Christmas but since it was a last minute request there was no time to stitch it up.

*I only have ONE granddaughter!
Here is the pile of fabric which was all bought online from various sources.


The pattern was also acquired online.
I have barely left the house.


The pattern was fine except if you wanted to do those crazy appliques.  They would have taken forever and I knew any kid would prefer the sparkle of this fabric.

The fake sequin bodice fabric is also see-thru and had to be backed with the blue satin. It was surprisingly easy to stitch through. I was sure the needle would get stuck in the shiny spots.


It has been years since I used such slippery
slide-y stuff, but it went quite well overall. The only hard parts were near the end. Why are the last steps of any project always the most fiddly?


The pattern called for bias tape to finish the neckline but I thought that it would look odd with this fabric and I wanted to make sure the scratchy snowflake fabric didn't rub. I made my own bias strip from the satin and covered the whole neckline with it.  I did a pretty bad job at the top of the zipper. I know. There should be a hook and eye there.


Even the zipper color isn't the best but I was determined NOT to buy one when I have a drawer filled with at least 100 zippers!
Here is her best royal wave. More practice needed.
My backdrop needed to be wider.


Most irritating of all to sew, and probably to wear is the sleeve set in.  I have been doing so many projects where I sew that seam before closing up the side and sleeve seam that I forgot what a pain it is and this fabric tended to ravel and the silver stuff doesn't allow the fabric to fold over easily.  This was especially difficult in hemming this stuff. It is all wavery  looking. That neckline might have layed flatter if I could press it properly, but I was afraid of melting it.

 Her modeling fees are quite steep so we were rushed to get this done.  That's the excuse for not doing a better job on the hair.  Oh well, a tiara can make up for a lot!


I think she looks every inch as good as Elsa. Hope the company that starts with D doesn't think I am committing copyright crime with this little pic. I am only advertising for them and not selling.


Doubtful this will get a lot of wear, but then washing it is probably not a good idea.  Sometimes sewing is just a labor of love, all practicality aside.

January 3, 2015

Starting Off on the Wrong Foot - Happy New Year?

Lots of sewing bloggers have done a recap of all the great things they made this year just to make me feel inadequate. So continuing in this downer mode I am going to tell you what a failure my latest project was. The weather outside today is a very cold hard rain which adds to my gloomy mood and the only brightness on this day is the glow off my computer screen. My sewing machine is banished to the opposite  unlit corner of the room.

I started of with this great vision of how I would make another wool handbag as lovely as this one.
EVERYTHING about this bag went well and I sold it immediately at a craft show after getting numerous "favorites" in my Etsy shop.

I loved working with wool for these two bags as well. 

I ordered some wool plaid online from MOOD and my first problem was that it was a much larger plaid than I thought ( my fault). It also smelled like WOOL!,  of course. So I spent time running it on air in the dryer with a dryer sheet. Then tried Febreze and then I just washed it and air dried it. Finally it was acceptably less sheep-like.

 Here are some steps in the building of the bag.  This shows an inside view no one ever gets to see.
 Here is a mistake I had to rip out.
                           Cramming all these thick layers under the presser foot was a drag.
 Then comes the birthing of the bag where you have to pull the whole thing back through the hole in the lining.
And that is when you see that what you had envisioned as a really classy classic bag is actually NOT!

After flipping it I had to do the top-stitching around the upper edge. Due to the thickness of the straps with piping the machine just went nuts and went into spasms leaving about a half inch unstitched and a few thread "bird nests" which I couldn't bring myself to photograph.

I had used a gray faux leather on my loved bag and it worked very well. The black vinyl (faux) not so much.  I made piping which looks great but a larger expanse is yucky.
                                                                               

It's the "Saggy Baggy" Bag.  The very stiff interfacing I used around the sides should have been used on the front and back to prevent the fold over tab with the enormous button from dragging it down. There is actually a magnetic snap under it. Too bad that I wasted it.


I do like the piping across the outer pocket and 
on the tab. Oh, I already said that. 


Well, I liked it so much that I decided I had to have more. Around the seams would have been nice but the thicknesses entailed would be too much.  I never
thought about it though when I added it to the strap which I made the same width as the bag side.      

                                                                                                                          
What a beast this was to turn back right sides out. If I had made it narrow towards the center it would reasonably sit on a shoulder and not flare out as seen below.


Even this photo turned out bad. Where did those weird dots come from??
  
AND the plaid is not straight at this seam.


And speaking of photos, they are all wrong because the color is so off. I tried all kinds of settings which I really don't get.  Smart capture usually works fine for me in natural light.  Not one of these shows that this fabric is not a bright white and black houndstooth plaid with colored flecks BUT a dull beige - y white and black houndstooth plaid with colored flecks!!!
 I changed lighting, locations, settings and the white is still way too bright.

Oh well, I don't need great photos since this disaster is not going to appear in my Etsy shop.

I will probably cut it up and rework the elements into something else much smaller.

Some sewing bloggers call this a WADDER.

Any suggestions?